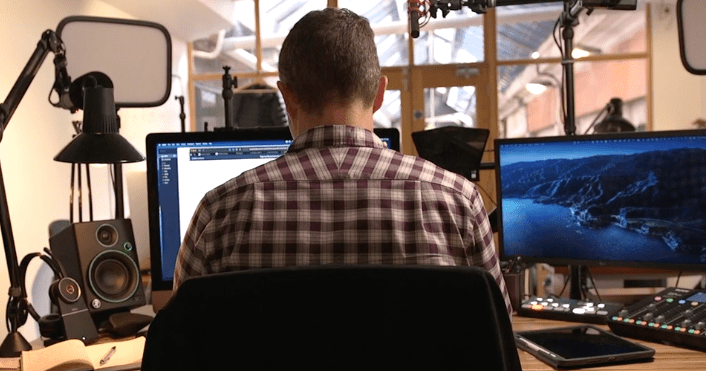
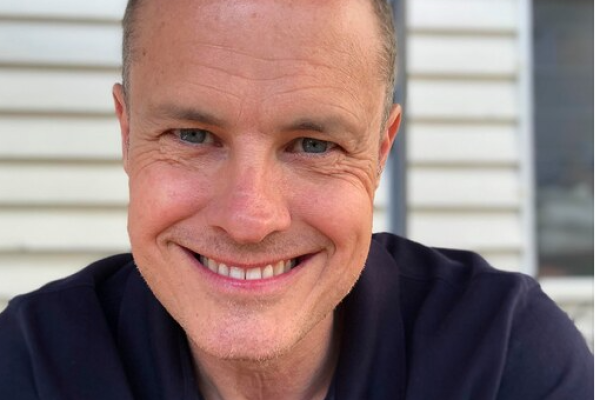
Lately, I’ve been getting a lot of questions about the studio equipment that I use for live streaming and recording. So I decided to peel back the curtains and give you a complete studio tour!
I'll also let you know what you should use when you're just getting started out as you won’t need all of this studio equipment initially. But hopefully, this video will inspire you about what is possible.
Watch the video or read the show notes below.
The Video
You can learn more about the studio equipment over at kit.co/troydean and get links to all the gear there. (These are affiliate links).
The Show Notes
The Computer (0.47)
It all started when I splurged on an iMac Pro.
My old laptop had a fan that would spin and make a very distracting noise when I was going live. So I decided to go all-in and invest in the iMac Pro. Yes, it was an expensive investment but I can basically do anything I want with it when it comes to live streaming and editing.
If you’re just starting out though, I would recommend a MacBook Air or MacBook Pro with the M1 chip so you can live stream from it without the noise from the spinning fan interfering with the sound.
However, the problem with most modern computers is that you have a limited number of ports. So I use the Thunderbolt 3 Dock from OWC which expands my ports and allows me to plug everything in.

So what’s plugged into the computer?
The Camera (2.26)
It's important to have a good camera and lens.
I use a Sigma 16mm 1.4 lens. It’s a prime lens that's connected to a Sony A6400 camera.
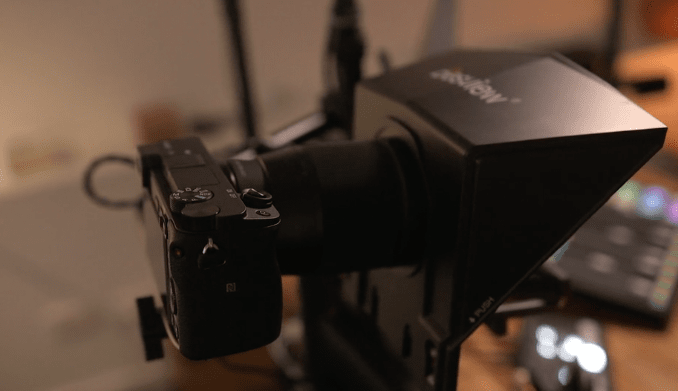
If you were using one camera you would just plug it into your computer using something like the Cam Link from Elgato. Or Sony has released software that allows you to plug it in via an HDMI to USB cable and it will see it as a USB camera.
I prefer the Cam Link because it gives better quality than the USB output of the camera.
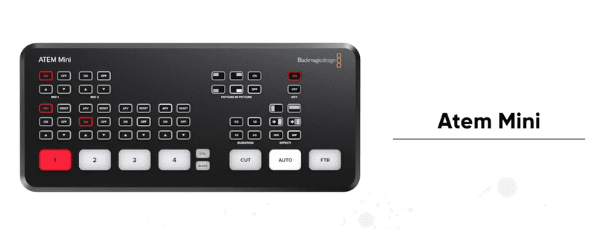
However, I have a second camera that sits above my iMac (more on that to come). So I use an Atem Mini by Black Magic design which has four HDMI inputs, audio inputs and some cool transitions I can use.
Sound (5.40)
People will forgive poor quality vision as long as they can hear what you’re saying.
If you're just starting out, I would get something like the AT2020 which is a great little microphone that sits on a tripod on the desk.
I have a couple of microphones:
1. The Rode Broadcaster
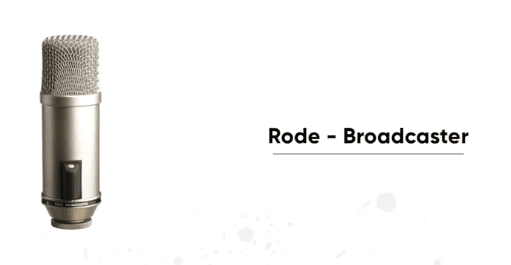
This sits on a Rode PSA 1 Boom Arm which is screwed into my desk so it can be moved out of the way when I'm not using it. It then has an extension on it made by Shure which means you can have the microphone closer to your mouth.
This microphone is designed for you to talk directly into it, otherwise, the sound quality will be poor.
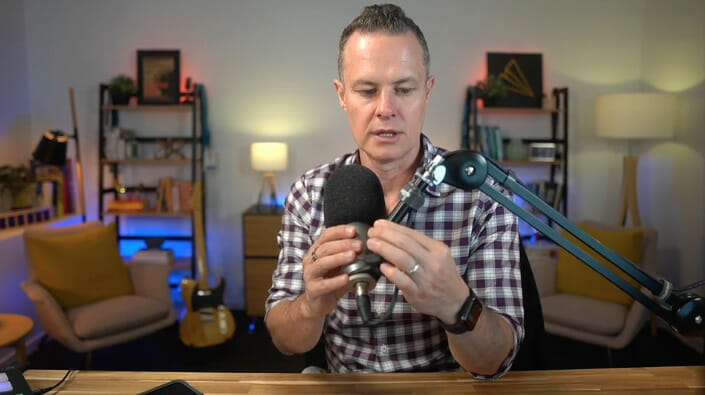
This microphone is good for podcasting because the sound quality is excellent, but not necessarily for videos where you don’t want it intruding in the shot.
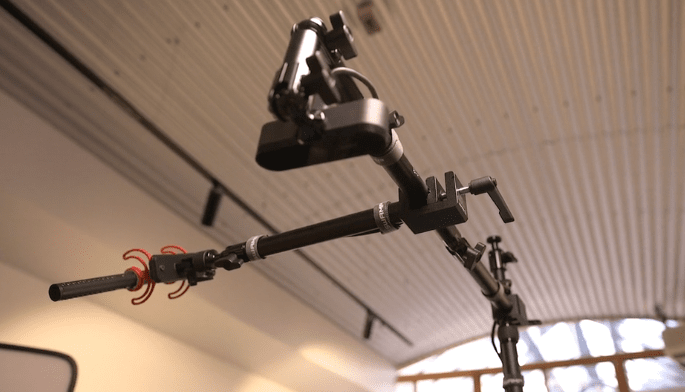
2. The Room Mike: Rode NTG5
This microphone sits just out of view of the shot above my head which means I have no infrastructure in my way.
This is strapped to my desk using a bunch of Elgato flex arm kits and mounts.
The next question is:
How am I capturing that audio and getting it into the computer?
I use the RodeCaster Pro which is basically a multi-track mixing desk for podcasters. It is able to plug in four microphones and has some sound pads so you can add in audio (such as the intro to your podcast).
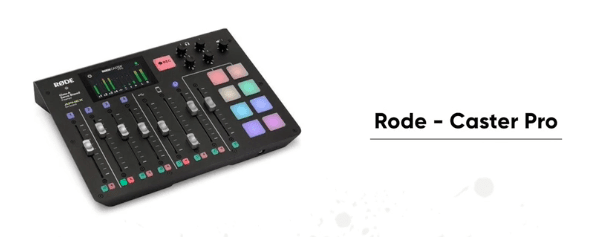
I can then record directly on to the RodeCaster Pro and put the sound onto an SD card or plug it into the computer via a USB cable. This allows me to simply take the recordings straight off the Rodecaster Pro and into Logic for editing.
You can also connect your music from your mobile or have people call you and stream them into the show.
It's just a thing of absolute beauty!
In-Ear Monitors
While I'm live streaming, I use MEE – M6 Pro in-ear monitors which are barely visible, comfortable and sound amazing.
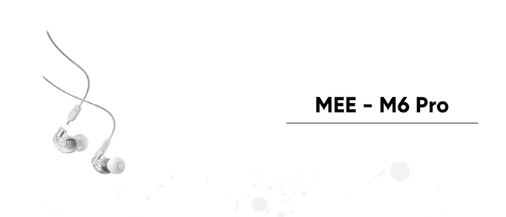
These are wired into the RodeCaster Pro via the headphone output. In fact, there are four outputs because it's designed to actually record podcast episodes.
Lights (14.15)
This is what I use for lighting me:
1. Elgato Key Lights
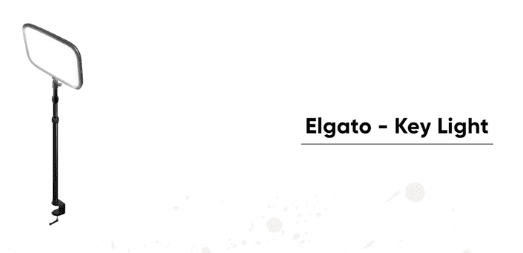
I use three Elgato key lights, I have two of which are strapped to my stand up desk on an Elgato Magicmount. They face me at a 45-degree angle to light the sides of my face.
Then I have a hair light above me (because my hair is fabulous). This lights my hair and shoulders and also puts a little bit of light on the desk.
2. Backlights
Firstly, I must give a huge shout out to my friend Marshall Fox in the ECamm Live Community who inspired me to pimp out the background behind me with a bunch of Philips Hue lights.
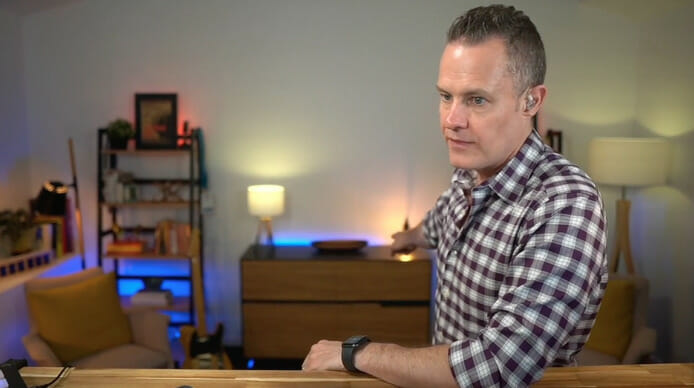
On the back of the buffet is an LED strip that gives us the blue light. I also then have the Philips Hue Go Portable Light which a round light with a three-hour battery in it.
The red light behind the pictures is a little bar called the Philips Hue bar.
The best thing about the Philips Hue lights is you can change the colour of them. By using their app on your phone you can create your own colour scheme or choose from a variety of ready-made colour schemes such as the Savanah Sunset:
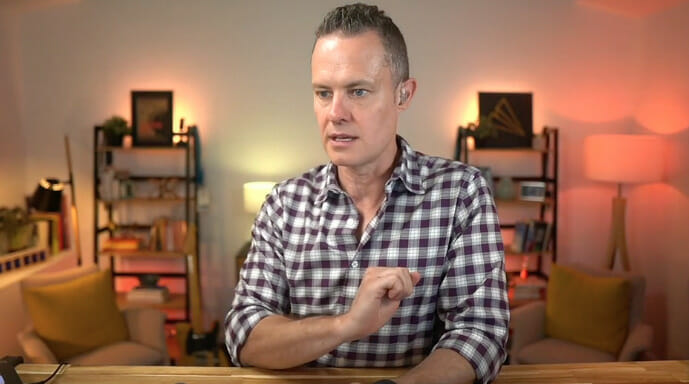
I can then set up multiple rooms in this building or at home and have different scenes for each room. It really is a thing of beauty!
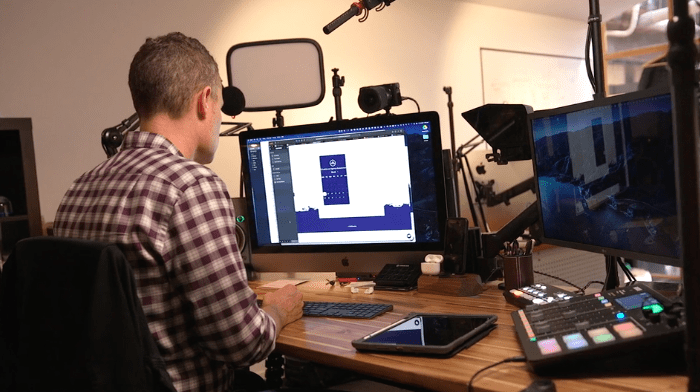
The Desk Set Up (19.30)
Arms and Mounts
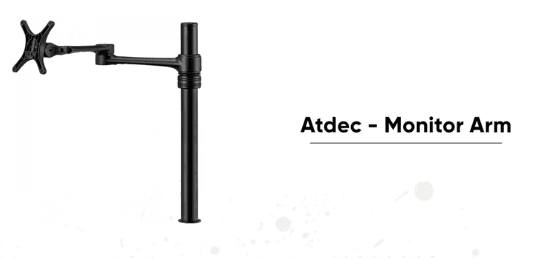
To the right of my iMac Pro you'll see the LG 4K UltraFine monitor. It's just a small one because I don't want to take up too much space on my desk. They are both strapped onto the desk using Atdec Monitor arms:
Then everything else is strapped under the desk using the Elgato Magicmount and flex kits which means there will be no messy tripods on the floor or desk.
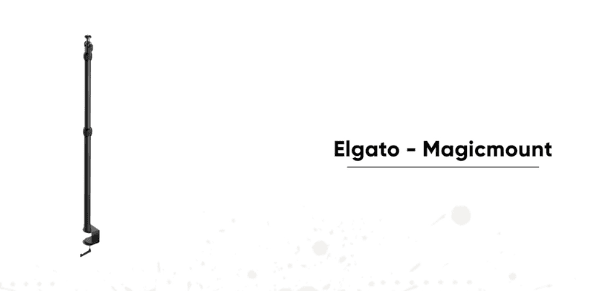
Basically, everything is strapped to my desk using these – the cameras, the lights, the microphone and my overhead microphone. And it is all solid as a rock.
Overhead Camera
Above me is a Logitech Brio Camera:
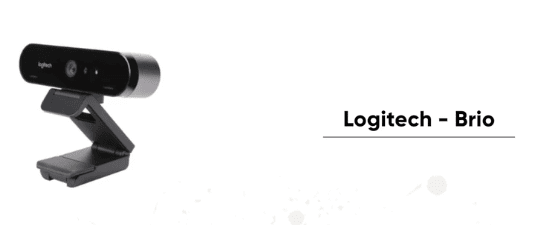
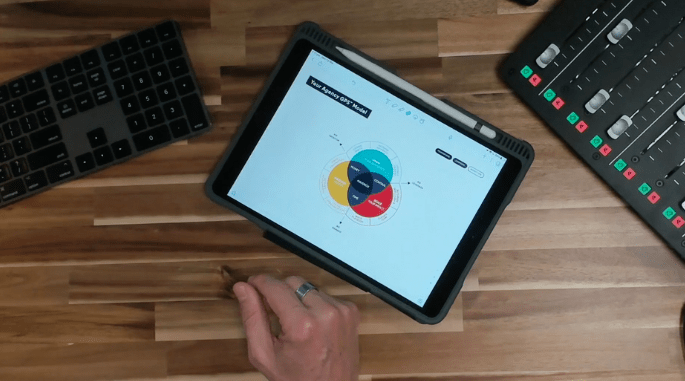
I use this camera overhead to capture shots of my desk for when I am drawing on my iPad using the Notability app and an Apple pencil:
Speakers
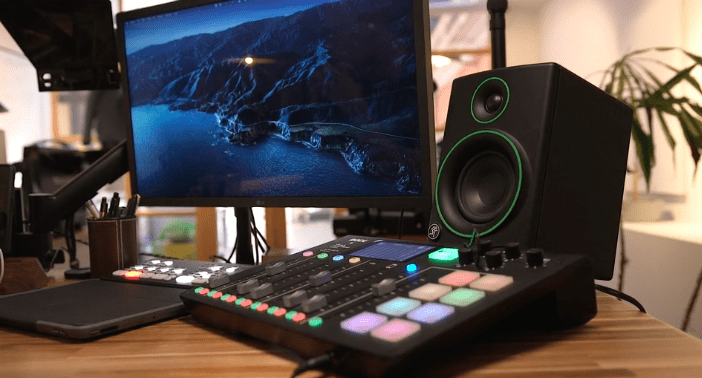
I use small Mackie powered speakers which sit on some audio engine feet to angle them up towards me. And they're actually powered by an audio engine – a USB audio interface that sits under my desk.
Wrap Up
I think that covers everything! I hope you found it helpful.
As I mentioned before, you can learn more about the gear at kit.co/troydean and get links to all the studio equipment there. (These are affiliate links).
But remember that it took me 12 years to collect all of this equipment and you don't need all of this fancy stuff when you're starting out.
What you do need is a strong message, conviction and passion in what you're doing.
And again, I just want to give a huge shout out to my friends David Blackman, Marshall, Fox, and all the guys in the Ecamm live community. You all continue to inspire me to keep going and improving and I thank you for everything you're doing.
So keep live streaming, keep going, and keep on making an impact.
