Do you know how to create a custom login page for WordPress? Or even why it’s a good idea for both your clients’ websites as well as your own? If you’re unfamiliar with the concept of white labelling WordPress, watch this tutorial or scroll down for a quick breakdown of the steps.
Also, be sure to keep reading if you want to learn how to leverage WordPress customisation tricks like these to increase your fees.
How to Create a Custom Login Page for WordPress
By default, this is how the WordPress login page looks for all of us:
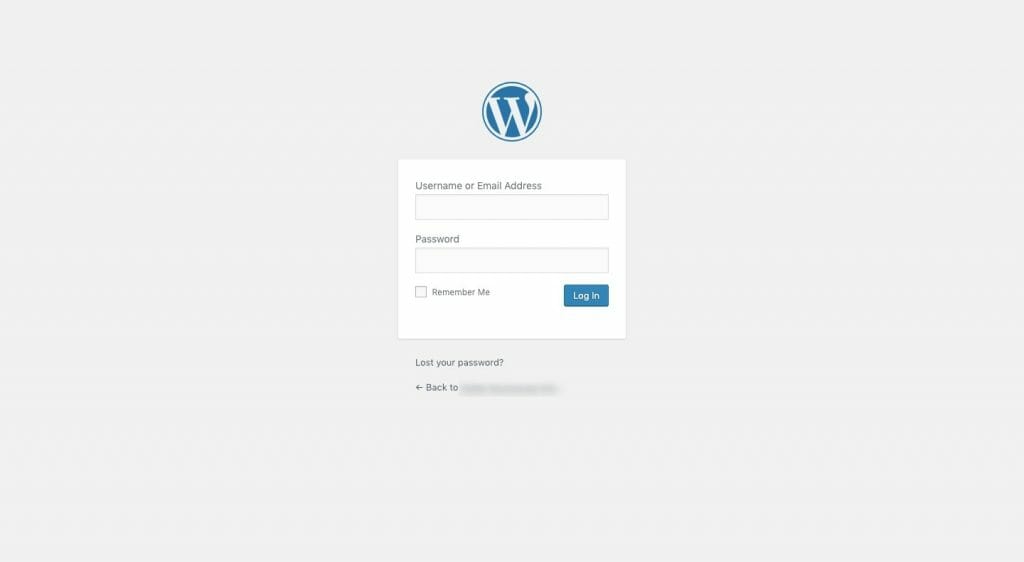
With the White Label CMS plugin, you can create a custom login page for WordPress that sets a completely different tone.

In other words:
What lies behind this login page is different from everything else.
If you want to create a more welcoming and attractive WordPress environment for clients, a custom login page can come in handy. Here is how to get one up and running in just a few minutes:
Step 1: Install White Label CMS
Locate the White Label CMS plugin from the Plugins > Add New screen.
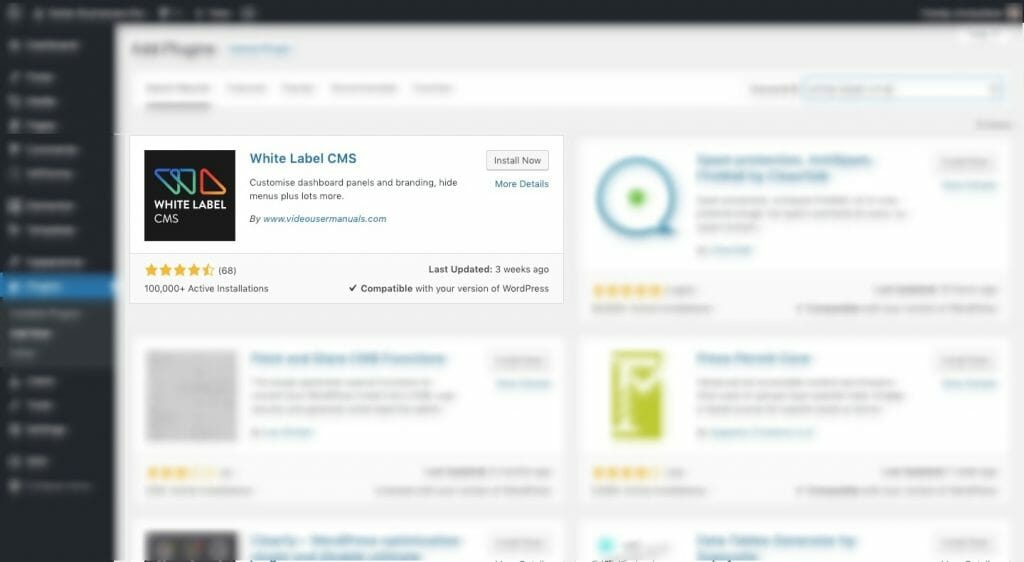
Install the plugin and Activate it.
Step 2: Find the Login Settings Page
As I demonstrated in the tutorial above, there are additional settings you may configure if you want to white label the rest of the WordPress admin and dashboard. For now, we want to create a custom login page.
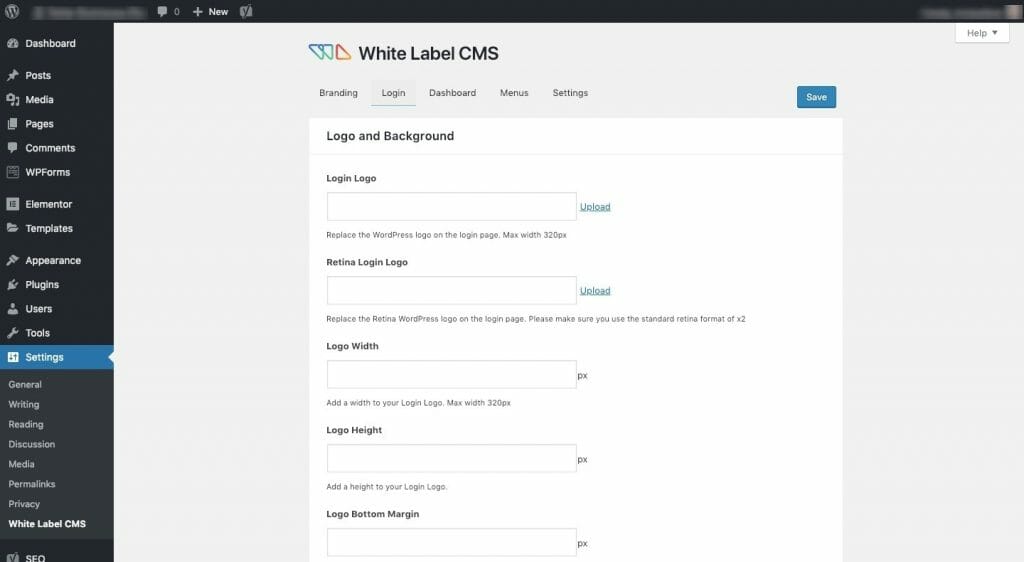
Go to Settings > White Label CMS to initiate the process. Skip Step 1 and then enter the Login settings page.
Step 3: Upload a Logo
If you don’t already have your client’s logo uploaded to the Media Library, upload it now.

Make sure it doesn’t exceed a width of 320px.
Step 4: Upload a Retina Logo
If you want to ensure the logo shows up nice and crisp on retina screens, upload a version of the logo that is twice the size of the standard logo.

Step 5: Add a Background Image or Color
Since you’ve already set out to create a custom login page for this WordPress site, let’s go full steam ahead.
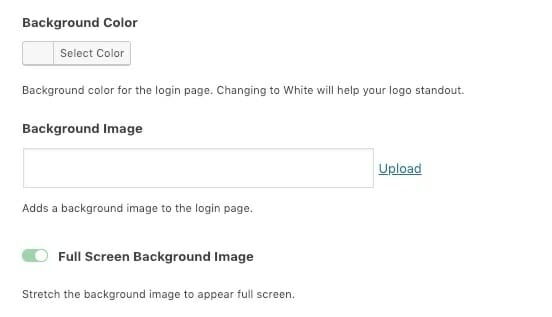
If you have a full-screen image you can use as a background, great. If not, use one of your brand colours to replace the WordPress grey.
Step 6: Save and Preview Your Custom Login Page
At the bottom of each section of the plugin settings, you’ll find a link that says “Live Preview”.

Use this link to see a full-screen preview of your new custom login page for WordPress.
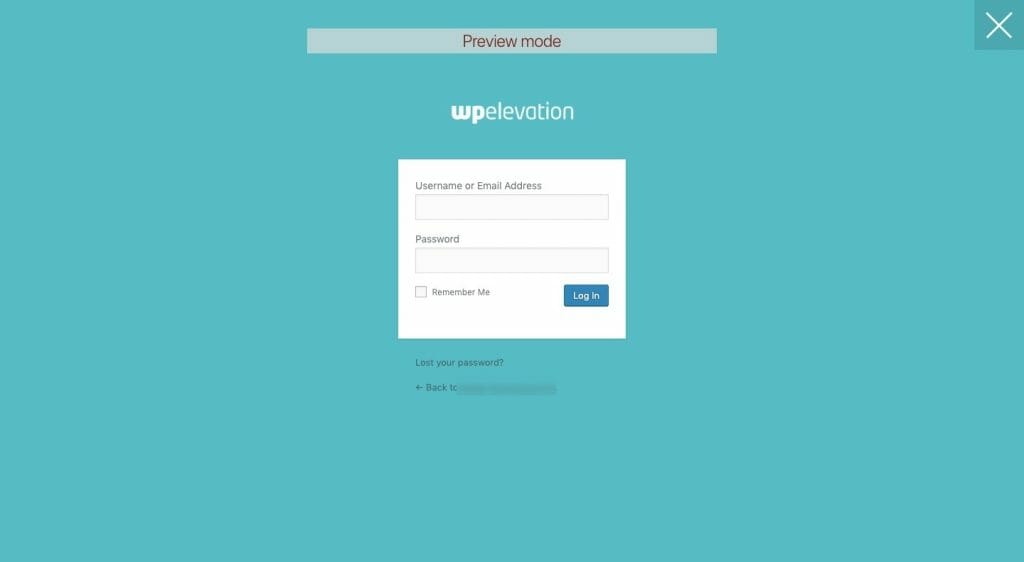
If you’re happy with it, Save your changes.
If the logo is too light or dark against the background, if the link text doesn’t show up well anymore, or you want to further customise the page, have a gander at the rest of the Login settings. You can change not only the appearance of each element on the login page, but you can also decide which ones you want to show or hide, too.
Why White Label WordPress?
For those of you who build WordPress websites for a living, you might not have given the appearance of the WordPress login page much thought until now. After all, it’s just a login form that grants users access to WordPress.
But what if it were more than that? What if the entire WordPress interface were more than that?
White labelling is the process by which a product is rebranded so that it may be sold or marketed by another. In the case of WordPress, however, white labelling is more about enhancing your clients’ experience inside WordPress. The custom login page you’ve just created is the first step.
A: So you can make more money.
Learn More

There’s research to back this up, too. A study done by Epsilon in 2017 found that:
80% of respondents were more likely to do business with a brand that offered customised experiences.
Further, respondents who appreciated personalisation were far more willing to continue to spend money (and more of it) with the brand.
“Findings from the transactional analysis indicate that consumers who believe personalised experiences are very appealing are ten times more likely to be a brand’s most valuable customer.”
Although this research revolves mainly around B2C shopping experiences, the same is true for B2B. Customers and clients are the same people after all. We’re just engaging with them in a different context than their local retail store. We also have tools at our disposal that make it significantly easier to create personalised experiences. There's so much more you can do with the plugin, so be sure to check out all the features. You can even personalise the RSS feed!
Wrap-Up
If you’d like to further enhance your WordPress offering and reap the benefits of doing so, sign up for this free training today. You’ll learn how to create a business that appeals to the kinds of clients that want a personalised experience and will reward you for meeting those expectations. In other words: they’ll actually pay you what you’re worth.


