One of my favourite tools for business is Asana. Recently, I talked about how I use it to manage client lists more effectively by creating templates for them. Now, I’m going to let you know how I use project management templates in Asana to work more efficiently and consistently from project to project.
How Project Management Templates Solve Business Pains
It doesn’t matter how long you’ve been in business or how many times you’ve repeated the process of building a website. Without well-structured and fully documented processes in place, you’re putting yourself at a serious disadvantage.
Disadvantage #1: Crippling Responsibility
For one, a lack of business processes or a documented workflow leaves you the sole responsible party for managing projects and outcomes. But what if you go on vacation or fall ill? Or maybe you simply want team members to be able to own the process without your constant hand-holding or intervention? Having that knowledge stored inside your head won’t be helpful to anyone.
Disadvantage #2: Inefficiency
Think about the last time you worked without a documented workflow. You knew that you needed to do X, Y, and Z to complete the task. However, there were a number of subtasks that you couldn’t quite remember in which order to do them. So, you dug around in old projects and tried to remember what was done. You could’ve saved yourself that time by having it all written down in a centralised location.
Disadvantage #3: Lack of Consistency
When it comes to building WordPress websites, you want the freedom to create something that’s unique to your client’s business. In that sense, consistency would be a bad thing as it would rob you of the ability to give your client a competitive edge. However, consistency in how you handle their project? That’s a different story.
By creating repeatable workflows that can be applied to every project, you ensure that every necessary milestone is hit and every task is completed sufficiently.
Boost Efficiency with Asana Project Management Templates
Okay, so we know how to use Asana to create client templates and manage lists. We’re going to use those same basic principles and apply them to your project management system.
1. Create a New Project Template
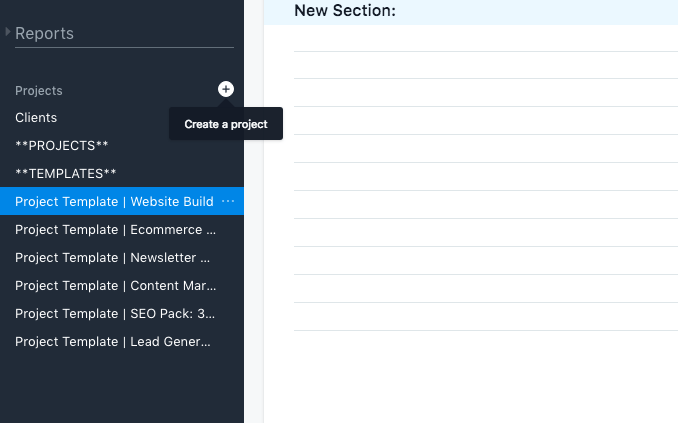
The left-hand sidebar in Asana is a lot like the one in WordPress. This is where you’ll go for high-level access to different parts of the platform. The key difference, however, is that you create your own “menu” in Asana.
For mine, I’ve chosen to organise my business by Clients (which is what we did in this previous video), Projects, and Templates.
To create a new project management template for website build projects, click on the plus sign in the right corner of this widget.
When prompted, give this new project template a unique name.
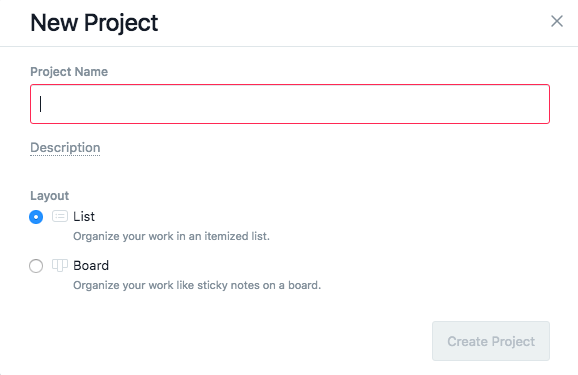
Make sure it’s descriptive enough so that you understand:
- That it’s a template.
- What kind of project it’s meant for.
2. Build Out the Template
Inside of the new template, you will see a blank slate. This workspace is now yours to customise.
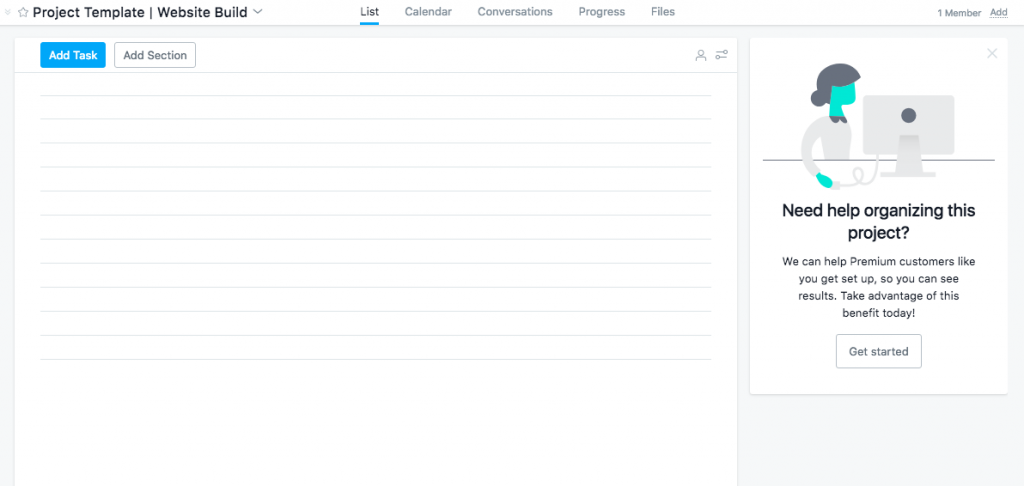
To add a new section header for the project’s milestones, click “Add Section”.
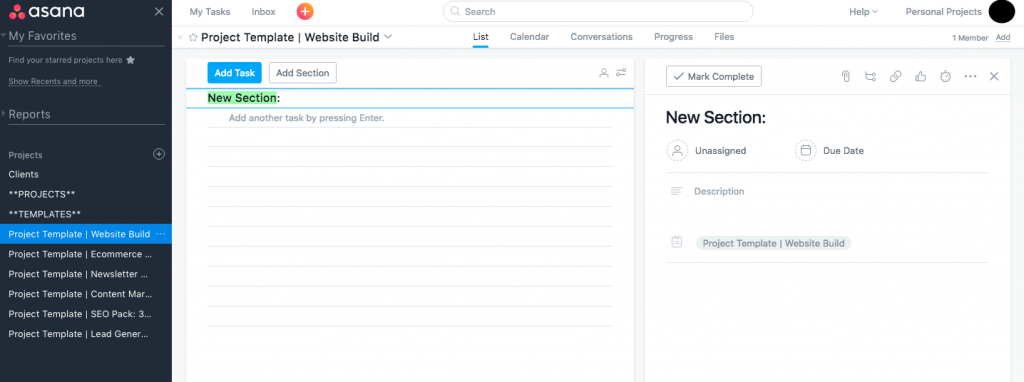
When naming a section header, remember to add a colon at the end (don’t put a space after it). Once you hit the Enter key, it will turn the label into a header and drop you down to the next point.
In this next row, you build your first step for this milestone. Enter the name and hit Enter.
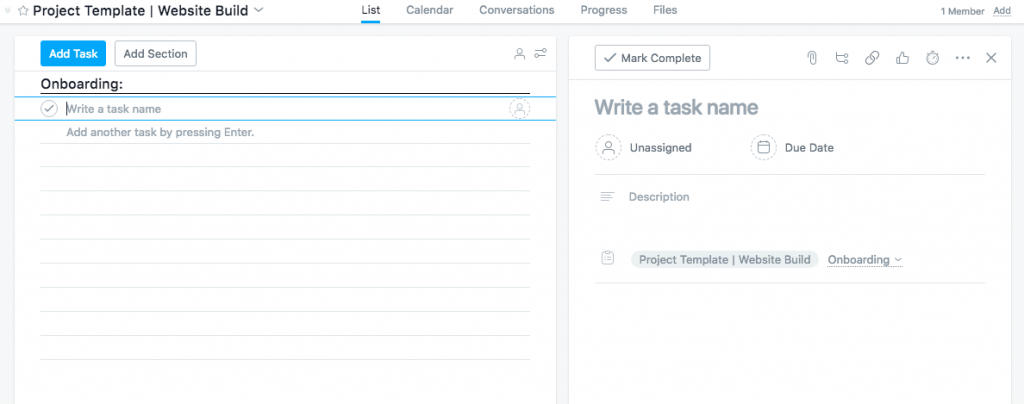
For now, I’ve used placeholder text just to set the structure of milestones and tasks for my project. Here is what it looks like when it’s all filled out.
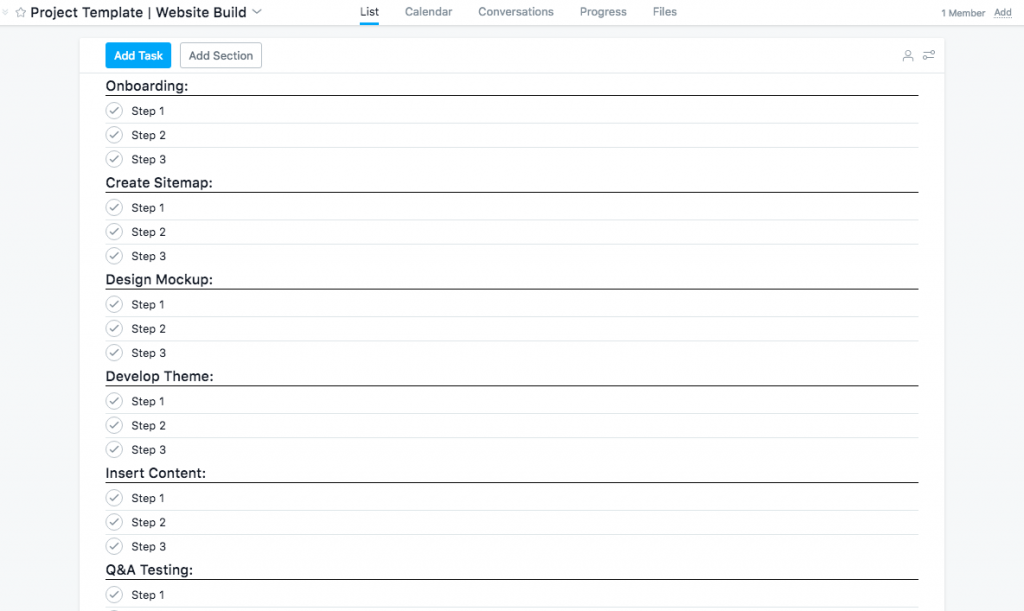
You can go in and define each of these steps more specifically now if you wish. You can also take time to provide general notes/guidance within the descriptions for each.
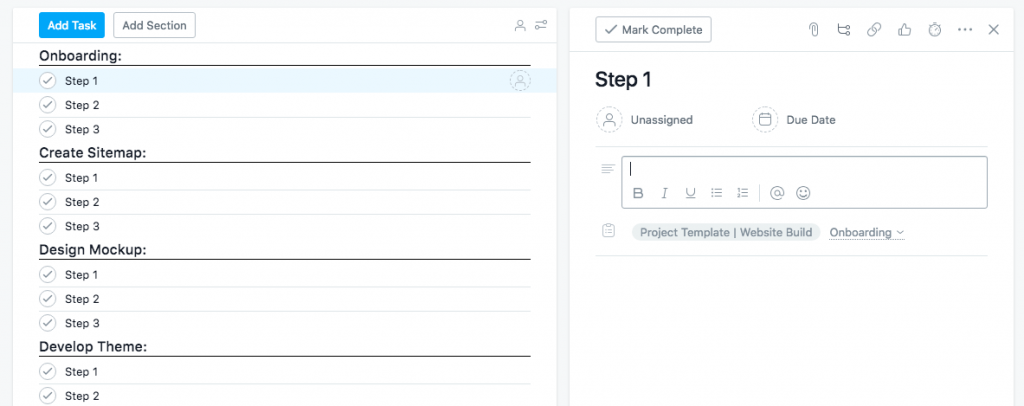
If you really want to streamline your project management workflow and ensure consistent delivery of each project, these details are key.
3. Update the View
Next, I’m going to suggest you update the default View within your project management template.
Click on the settings icon in the top-right corner of the template structure.

Set to “All Tasks” and click “View for Everyone”.
This might not seem like a big deal now, but it will be immensely helpful when you’re in the middle of working on a website and need a quick update on project progress. It’s also helpful when you’re on client calls and need a bird’s eye view of what’s been done and what hasn’t. Being able to provide accurate status updates and timeline projections will go a long way in impressing clients.
4. Create a New Project
Once you’re satisfied with the project management template, you can use it to create individual projects in Asana.
To do this, return to the Asana sidebar. Hover over your new Website Build template and click on the dots to the right. Select “Copy Project”.
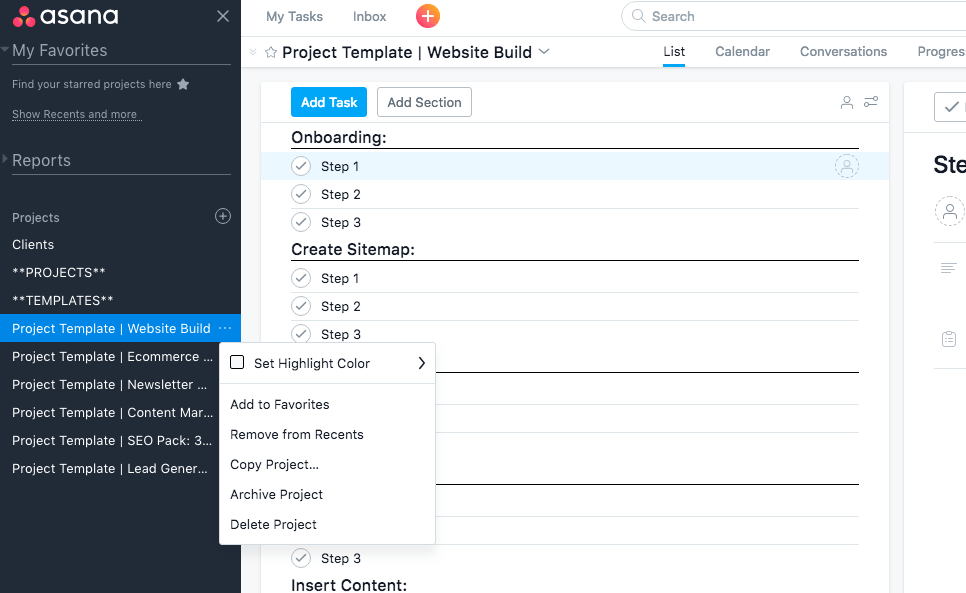
When the new project box opens, rename it to the client’s or project’s name.
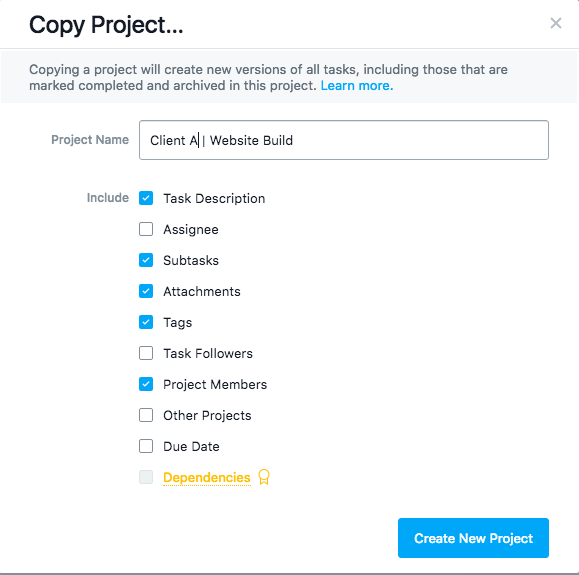
Keep the default checkboxes ticked. Then, click “Create New Project”.
You’ll now have your new, and fully built-out, project management checklist in the sidebar.
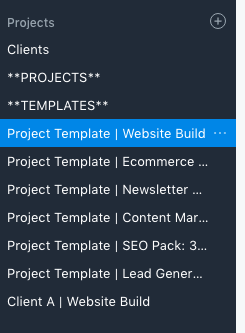
Move it up under your **PROJECTS** list, so you can keep all your folders organised.
5. Start Managing Your Project
Click on the new client project folder and take a look around. Make sure all the milestones and tasks apply to this project. Remove any that aren’t. Then, add details and steps that are custom to this project.
Now, you can get to work. Just remember that this is here to keep you organised and help you work more efficiently. In order for that to happen, you must remember to check off tasks as they’re completed.
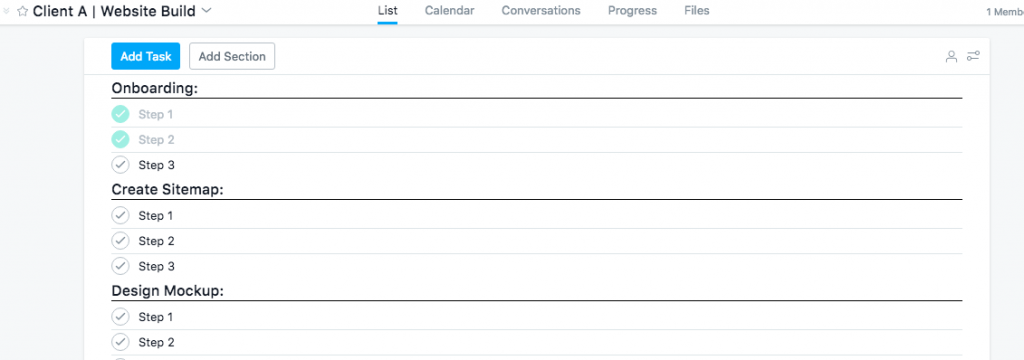
As you can see, Asana’s interface (and now the All Tasks view) keeps you and your team fully accountable for everything that needs to be done.
Wrap-Up
Project management templates are one way to keep your WordPress business organised and every project on the right track. By helping you avoid the disadvantages of working without a documented process, Asana empowers you to get started quickly and work as efficiently as possible every single time.


