Have you ever worried you’re not making the most of your time in WordPress? That, possibly, there are ways in which you could be more productive? In the following tutorial from the Agency Mavericks Studio, Troy talks about the value of adding design templates to your WordPress development workflow. Not only will you find that they’re great for boosting productivity, but they also give you room to be more creative.
Design Templates for Productivity and Creativity
The word “template”–when placed in the context of web design–might be one you try to avoid having any association with (or at least one you try not to mention around clients). After all, you’re being paid for your design skills and creativity, so how could templates be conducive to that?
You use WordPress plugins and themes in order to streamline your development workflow while simultaneously ensuring that you abide by web design practices.
You use page builder plugins like Elementor to simplify the creation of whole landing pages and even prototype wireframes.
Your WordPress business process includes using templates for client proposals as well as freelancer contracts.
What makes these any different than pre-made design templates?
Templates are extremely valuable tools for anyone who repeats the same task over and over again. I would argue that templates are even more important for the WordPress professional’s workflow as they save time in creating the basic building blocks of a website. In so doing, you work more efficiently and, consequently, have more time to put towards creating awesome custom web designs for your clients.
And this is exactly what Troy demonstrates in the latest video from the Agency Mavericks Studio.
How to Use Design Templates to Be More Productive in WordPress
While you could design templates for reuse in your web development workflow, it takes time to build those from-scratch. If pre-made templates have already been created for the purposes of streamlining the design workflow, then I say use them.
Let’s start by looking at the Katka Elementor Template Pack Troy uses in the video.
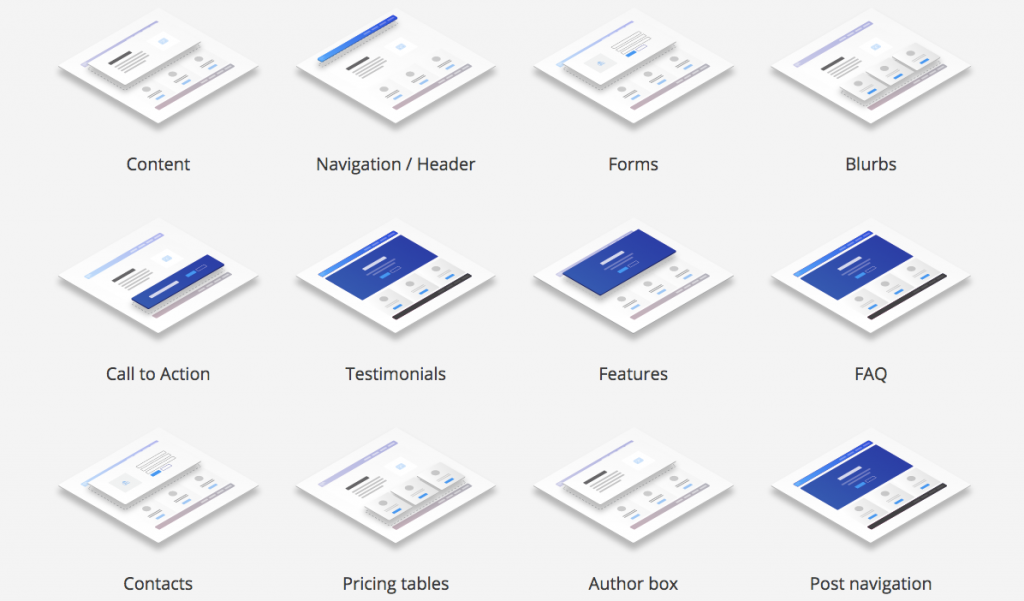
Here’s what you get:
- A free design template pack.
- Templates for entire pages as well as key sections of a website.
- Over 170 responsive templates to choose from.
- Templates made specifically to work with the Elementor page builder plugin.
As Troy explained, these design templates are more than just something you use to drop a new section into a website. You can use these templates to develop your own custom templates, too. Let’s briefly review the steps covered in this tutorial:
Step 1: Install the Plugins
If you’re new to the Elementor video series, here are the WordPress plugins you’ll need for this process:
- Elementor
- Elementor Pro
- Fullwidth Page Templates from Brainstorm Force
Step 2: Install the Katka Templates
Installing design templates is actually not all that different from uploading plugin or theme files to WordPress. There is one key difference here, however, and it’s an important one to take note of:
When you download the Katka Elementor template pack from the website, you will receive a file that is 9.5 MB in size. Unzip it and you’ll see that this template pack is no joke:
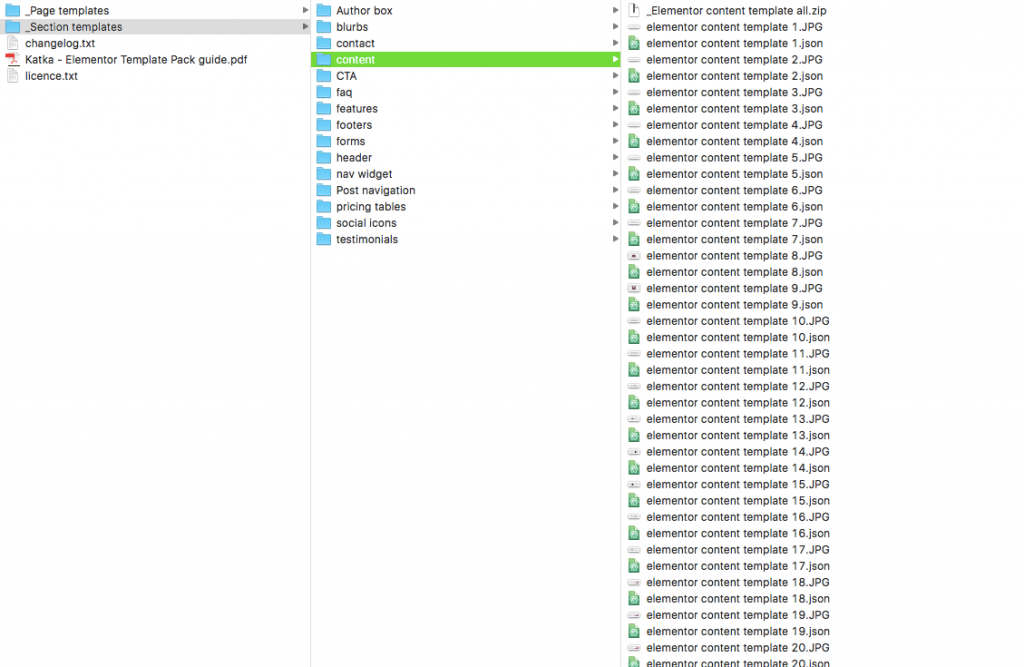
There are over 170 templates in here. Each template has a JSON and JPG file attached to it. And each template “type” (page or section) has a zipped package which contains all the corresponding files for it.
That being the case, you’re not going to want to upload the entire package to WordPress. If your site is already jam-packed with heavy image files, scripts, and other resource-draining content, I would suggest only uploading the Elementor templates you need.
Once you’ve identified what those are, here is how you’ll get them into WordPress:
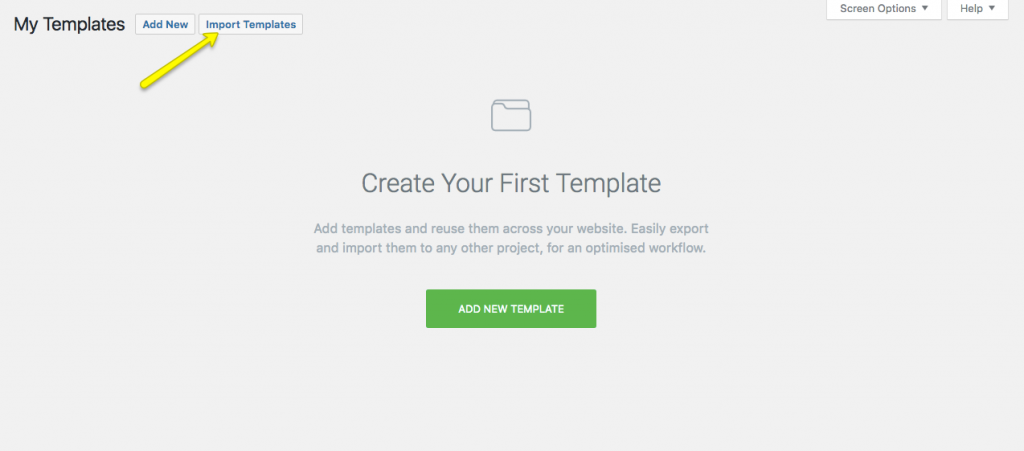
Go to the Elementor plugin and select “My Templates”. To add your chosen template files, click on “Import Templates” at the top:
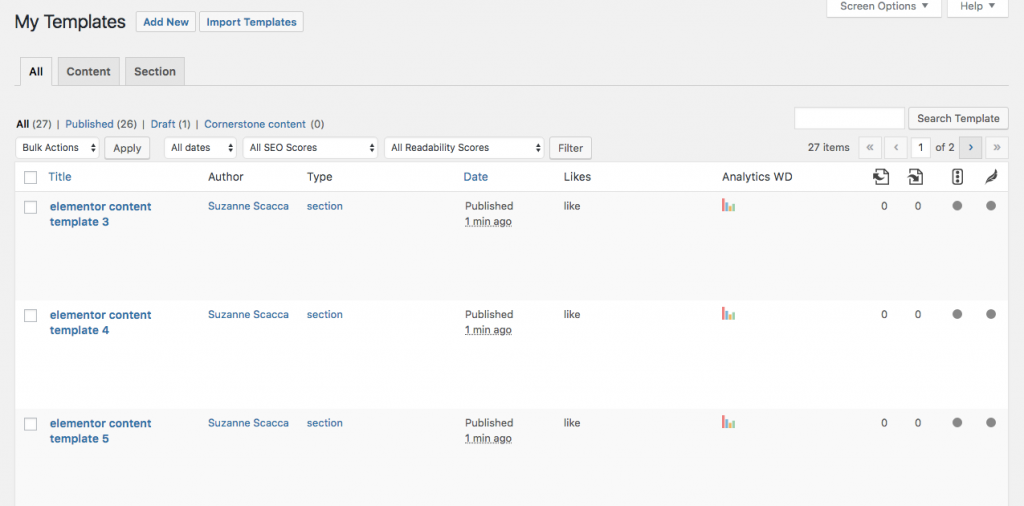
Choose the files (the individual JSON or the zipped folder) and import them. Your folder will then look something like this:
Step 3: Create a Page with Your Templates
Now that the Katka templates live in Elementor, you’re free to use them!
To start, create a new page in WordPress. If you want to build a fullwidth page without a sidebar (like in Troy’s example), be sure to update the Page Attributes’ Template to “FW No Sidebar”. Hit the Publish button and then select Edit with Elementor.
If you’ve used Elementor before, you may have just glossed over this option in the past, but it is indeed there: “Add Template”.

Under the templates menu, be sure to look at My Templates (Blocks and Pages are default templates included with the Elementor plugin).
Select the one you want to use:
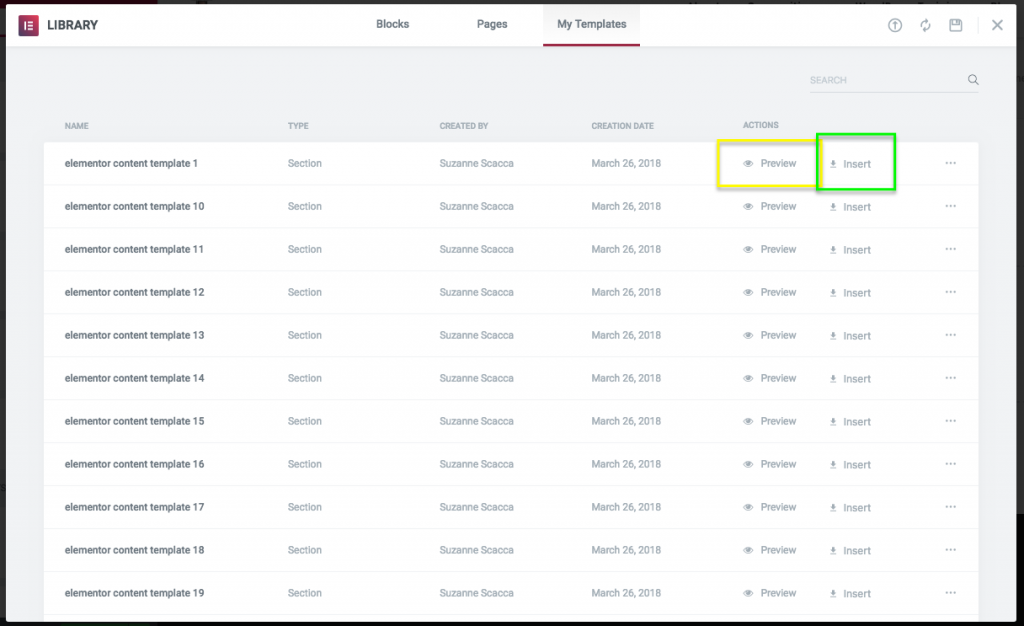
If you’re unsure which one you want, click the Preview button. Otherwise, click Insert to add it to the page.
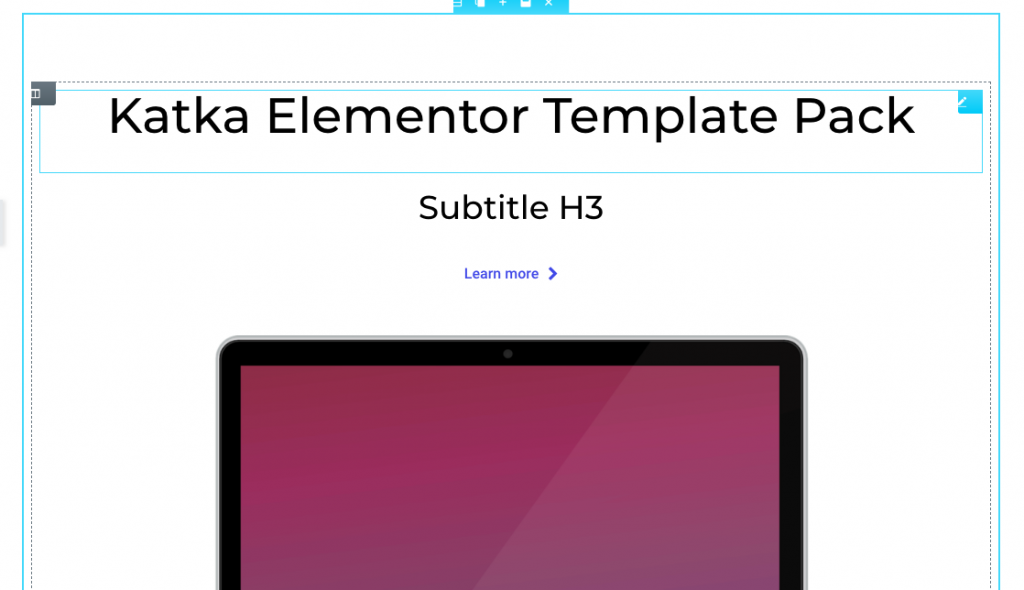
Once it’s on the page, you are free to do whatever it is you want. Update the typeface. Apply some color. Customize the image. Rewrite the text. And as Troy’s finalized sample demonstrates, you can really push the limits of creativity here. There’s nothing that’s going to hold you back in customizing these templates to the fullest–or even in adopting them as a base to develop your own set of design templates.
Wrap-Up
If you find yourself spending too much time building out the same basic elements on a WordPress site, web design templates can be really helpful in reducing the time spent on that task. In addition, templates are a great resource to have if you want inspiration and assistance in building your own set of custom template blocks.
Basically, if you want to be more productive and infuse some more creativity into your work, you should get started with web design templates!


