Landing Page Prototype Approved? Time to Tackle Typography.
It only takes 15 to 20 minutes to build a client-ready landing page prototype complete with a pop-up form and MailChimp integration. Once you’ve sold your clients on this proof of concept, what’s next? As Troy demonstrates in the following Agency Mavericks Studio session, adding custom typography with Elementor’s Typekit integration is the first and (very easy) step you should take post-approval.
Why You Should Start with Typography in the Web Design Phase
Modern web design is chock full of visual content. Bold imagery, background animations, and bright color gradients are just some of the popular design trends you’ll encounter around the web today. But think about landing page design. While you will probably include one or two strong image or video elements on the page, the majority of the content will be written.
As you can imagine, sorting out the matter of typography is essential when it comes to landing page design.
Now, every good website content strategy takes into account everything from the basic aesthetics to the functionality of each element that comprises it–and that includes typography. That’s why you probably don’t want to use the default set of typefaces included in WordPress. Your landing page (and, really, the website as a whole) deserves something more customized and personalized.
Typography is an important part of UX, which is why this is going to be the first thing you tackle once you have that landing page prototype approval in hand. But there’s a lot to think about in terms of finding the right typeface for your site:
- How many different typefaces do you want to use?
- Are you concerned with any spacing issues (i.e. kerning or tracking) that might impair the flow of reading?
- What does the pairing of typefaces say about your brand and website?
- Will the typeface you selected for the header text present enough of a contrast with the body text in order to improve scannability and comprehension of the page?
- Are these fonts compatible with all browsers?
There’s, of course, a lot to think about here, which is why this is such an important first step. Take some time to work with your client on creating an ironclad style guide that includes all their branding specifications (including typography). Your choice of typefaces will lay the solid foundation for the style, personality, and tone you want to set with this landing page, so it’s important that you choose wisely.
Adding Custom Typography to Your Landing Page
The best place to start when researching and planning custom typography for a brand is with a tool like Adobe Typekit. Not only does it make the process of finding and using high-quality fonts easy, but it integrates with WordPress and Elementor. With your landing page prototype built using Elementor, you can see where I’m going with this…
In the video tutorial above, Troy shows how simple it is to, first, integrate Typekit with your Elementor plugin and, then, to add your client’s custom typography into the landing page to start bringing the web design to life.
Here is a quick summary of what the tutorial covers:
Integrate Typekit with Elementor
Similar to what we saw with MailChimp integration in Elementor, you can natively sync your Typekit account with the page builder plugin too.
Go to the Elementor menu in WordPress and click on Integrations. You’ll find Typekit at the bottom of the list. In order to get the Kit ID access code, you’ll need to log into your Adobe Typekit account.
In Typekit, locate the Kits button in the top-right.
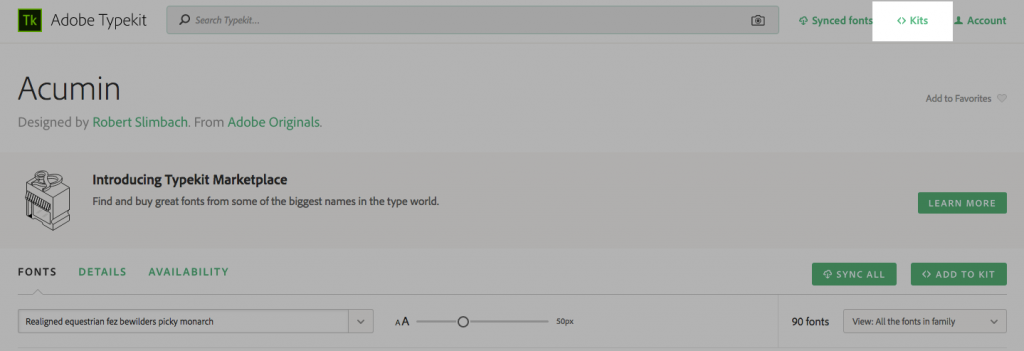
If you haven’t yet created your first kit, do so now. If your client’s typefaces have already been defined and saved here, then go straight to that page.
In your Kits list, locate the one you created for branding this client’s website. The Kit ID will be next to the name of your kit.
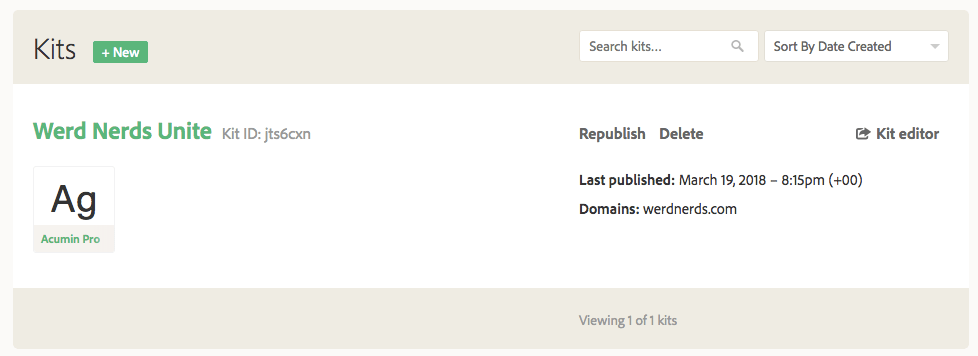
Back in the Elementor plugin, enter the Kit ID and click on Get Kit. Once you see the green checkmark, you’re almost there. Save your changes and then hop back into Typekit once more.
In Typekit, go to the Kit Editor.
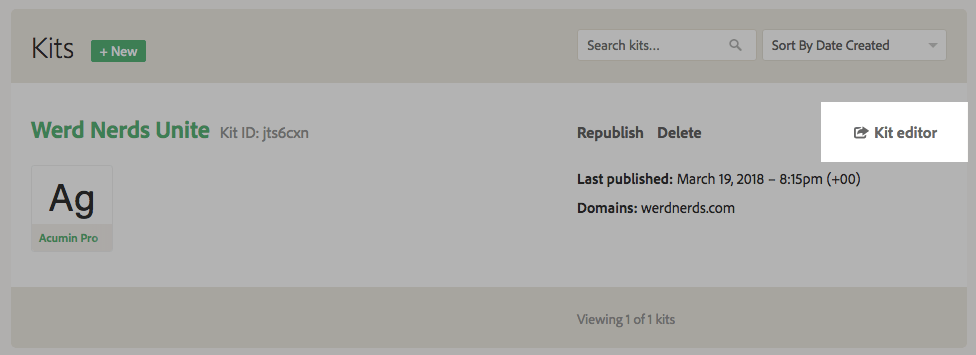
Click on Kit Settings in the top-right corner. If you haven’t done so already, add the domain on which you plan to use this typography kit.
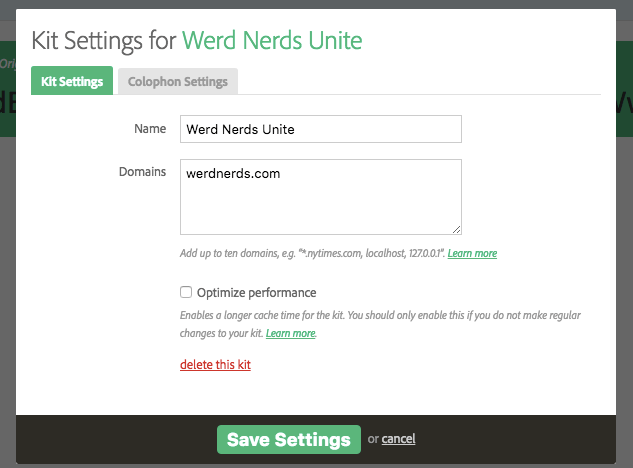
Save the settings and Publish.
The final step then is to swap out the default WordPress fonts on your landing page for the new ones from Typekit.
Open your prototype page in WordPress and select the Edit with Elementor option. Once you’re on the page, select any of the elements containing text.

Open the Style tab on the right, locate the Typography settings, and then choose the new Typekit typefaces available from the dropdown menu.
And that’s it! With a simple integration with Adobe Typekit, you can start bringing your prototype to life.
Wrap-Up
As you’ve seen by now, getting a client’s sign-off on your web design work doesn’t have to be as daunting as it once was. By adding a quick and painless prototype phase to your workflow, you can save yourself (and clients) a lot of trouble down the road. And with all the basic building blocks of your page laid out, moving forward with the design phase is a breeze, especially with tools like Elementor and Typekit on your side.


